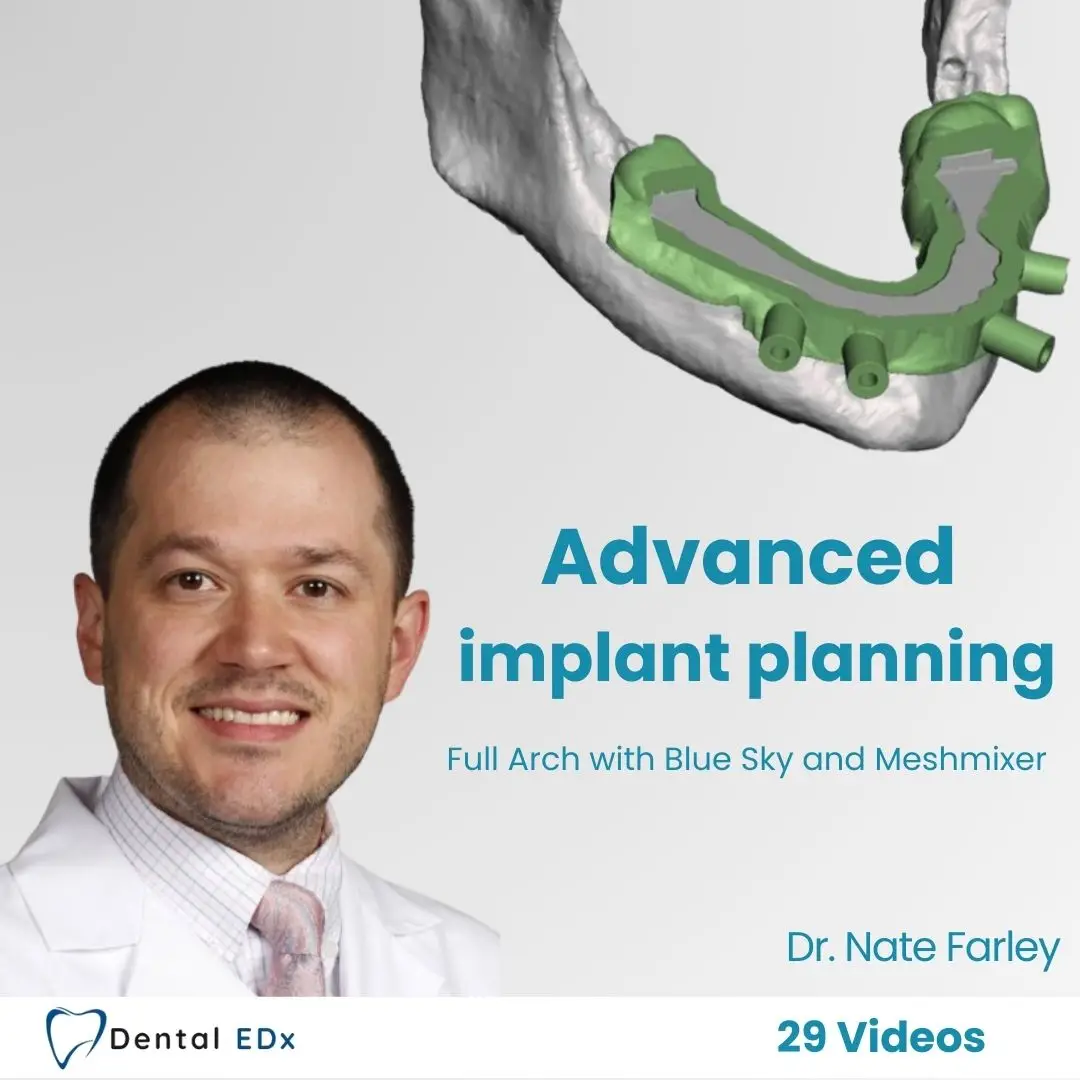
Advanced Implant Planning
Description :
Thousands are using Blue Sky Plan in their practice to plan and place dental implants. For 1-3 units, the workflow is very straightforward and easy, but many want to do more than the software can do. This course dives into Blue Sky Plan and free 3D editing software (Meshmixer by AutoDesk) to tackle full arch cases.
Due to patents on “stackable” guides, this course teaches the full arch solution using a series of guides that each have a specific purpose–one guide for each purpose. For those outside the USA taking the course, you don’t have the same restrictions as long as you aren’t shipping the guides into the USA. There is an extra video for you that explains one extra step you will need.
Objectives:
1. Input the right diagnostic information into Blue Sky Plan
2. Use Meshmixer to virtually wax a full arch prothesis
3. Fabricate a full arch guide in Blue Sky Plan
4. Edit the guide in Meshmixer to provide guided bone reduction
Requirements :
– You will need to download and install these two programs on a computer with enough hardware power to complete some complex tools (e.g. closing large holes, make solid, boolean reduction, etc.). Therefore, we highly recommend some minimum hardware requirements (if you don’t want your computer holding you back)**:
– 16 GB RAM [I have 32 GB]
– 4 GB (or more) dedicated graphics card [I have 6 GB]
– Solid State Drive (SSD) are great for saving and opening these cases quickly
– Windows PCs tend to be better than Apple computers for this stuff [I’ve used both and prefer PCs]
Course Content:
Lecturer :

Dr Nate Farely
WordPress Developer
Dr Nate Farely is a board certified prosthodontist with a passion for all things digital. He is originally from Northern California, but completed both dental school and prosthodontic residency at The Ohio State University. he is currently in private practice in Mesa, AZ at Revive Dental Implant Center.
FAQ :
1.How do I access my course after purchase ?
As soon as your payment is completed, you'll receive immediate access to your course. Simply log in to your account, head to the Membership Area, and start learning right away. You’ll also receive a receipt and enrollment confirmation via email, ensuring you have everything you need to get started. Your course materials will be available instantly, allowing you to learn at your own pace from any device.
2. Can I download the course materials?
Absolutely! We provide download links for many of our course materials, allowing you to watch and review them offline at your convenience. This includes videos, resources, and supporting documents, so you can continue your learning even without an internet connection.
3. Is there a time limit to complete the courses?
No, all of our courses are self-paced, giving you the flexibility to start, pause, and resume at any time. You will have lifetime access to the course materials, so there’s no pressure to complete them within a certain timeframe.
4. What payment methods are accepted?
We accept all major credit cards, including Visa, MasterCard, and American Express. You can also use PayPal for secure and flexible payments.
5. Do you provide certificates upon course completion?
Yes, we do! After successfully completing your course, you will receive a certificate of completion. This certificate can be downloaded immediately and serves as recognition of your learning achievements.
8.Why are your prices cheaper ?
At DentalEdx, we believe in making high-quality dental education accessible to all professionals. Our pricing reflects our commitment to providing exceptional value without compromising on course quality. By leveraging technology and streamlining our operations, we can offer competitive pricing while still featuring industry-leading instructors and comprehensive course materials. Our goal is to empower dental professionals to enhance their skills and knowledge affordably.
6. Can I access my courses from a mobile or tablet?
Yes! Our platform is fully optimized for mobile and tablet use, allowing you to access your courses on-the-go. Whether you're using a smartphone, tablet, or desktop, you can seamlessly continue your learning from any device at any time.
7. Am I going to receive an invoice for my purchase?
9.What if I'm not satisfied with the course?
If you’re not satisfied with your course, we offer a course replacement or a full refund. Simply contact our support team within 15 days of purchase, and they will assist you in finding a suitable alternative or processing your refund. Your satisfaction is our priority!
10.How do I contact support?
You can reach our support team via email at [email protected]. We’re here to assist you with any questions or concerns you may have!
11.Are there subtitles for the courses, and in what languages?
Yes! All our courses come with subtitles available in multiple languages. This ensures that you can follow along comfortably, regardless of your preferred language.
12.How do I reset my password?
If you need to reset your password, simply click on the "Forgot Password?" link on the login page. Follow the instructions to receive an email with a link to create a new password. If you encounter any issues or still can't reset your password, please contact our support team at [email protected] for assistance.
Doctors also searched for :
Removable complete dentures and overdentures: analog and digital manufacturing methods
- 0 Lessons
- 0 Students
Contact point effective posterior teeth direct restoration technique
- 0 Lessons
- 0 Students
Advanced Implant Planning
- Quality Full HD video
- Length: 5 Hours
- Number of videos: 29 Lectures
- Language: English
- Subtitles: Available in All languages
- Subscription Terms: Lifetime Access
Doctors also searched for :
Removable complete dentures and overdentures: analog and digital manufacturing methods
- 0 Lessons
- 0 Students
Contact point effective posterior teeth direct restoration technique
- 0 Lessons
- 0 Students

